Brush Information and Brush Care
Jump to: Brush Shapes | Brush Sizes | Brush Fibers | Brush Cleaning | Other Brush Care
Brush Shapes
You’ve been visualizing your next art project for a while and now you know what you want to paint. Before starting, learn how each brush translates to your project. Different brush shapes can serve different techniques and painting surfaces you want to use.
| Shape | Description | Use | Image |
|---|---|---|---|
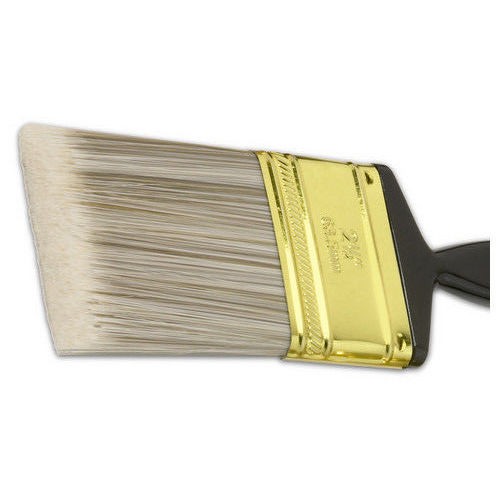
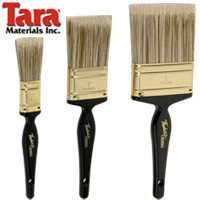
Flat Brush | Square tuft, medium to long fibers, in a flat ferrule, with sharp corners and straight top. | Use it to build color, paint large areas, create hard lines with bold or sweeping strokes. | 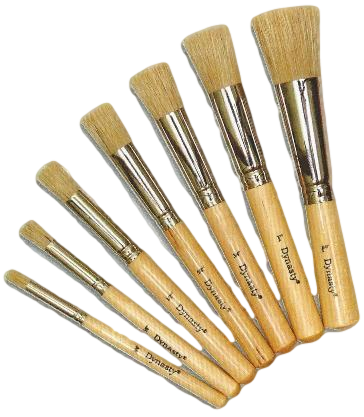 |
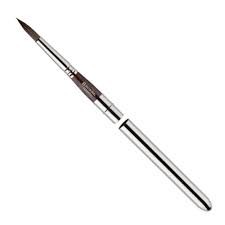
Round Brush | Round ferrule with tuft coming to a sharp single point. | It is a good painting assistant for details, washes, fills, and fine lines. | 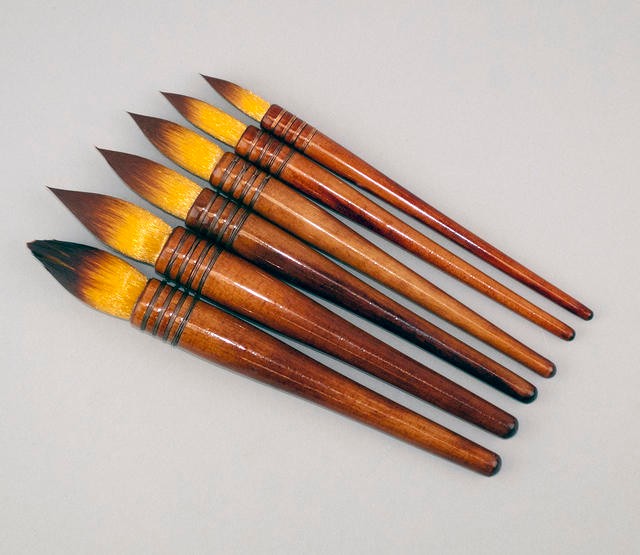 |
Filbert Brush | Flat and lat ferrule with medium or long hairs coming to an oval shape. | Its soft rounded edges can help you in blending colors and in making softer strokes. |  |
Cat’s Tongue Brush or Oval Brush | A pointed filbert with a flat ferrule. It is a versatile brush for watercolors. | Its pointed tip allows for painting fine details, and the rest of the oval tuft - for broad washes. | 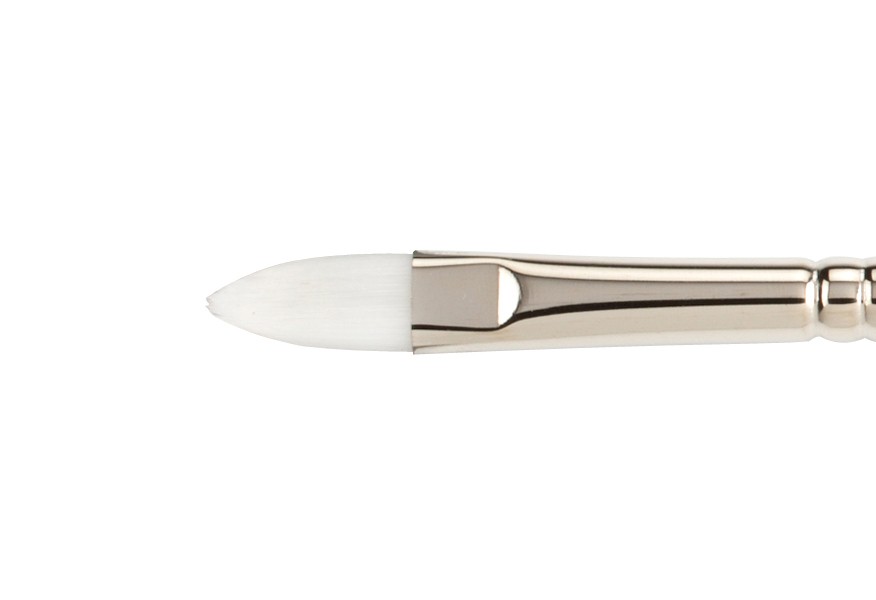 |
Bright Brush | Shorter hairs set in a flat ferrule, usually with a long handle. | It gives a stiffer feel, thus it is useful for short and controlled strokes, with thick or heavy color. |  |
Angular Brush | Short-length fibers, with longer hairs at one end, with a flat ferrule. | It is perfect for thick or heavy color, and for painting precise strokes or lines and curves. | 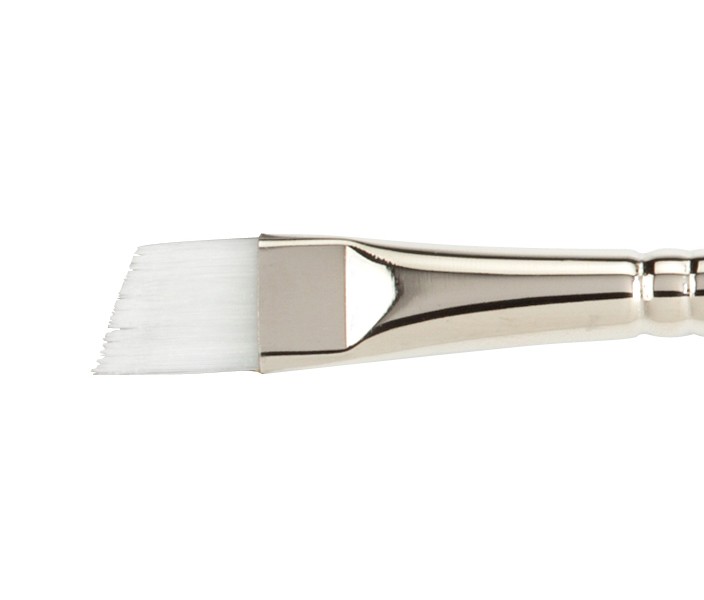 |
Fan Brush | Flat ferrule with hairs spread out thinly as a fan. | It works mainly as a blender, but it is also a great brush for textural and special effects. |  |
Fandango Brush | Very light oval-shaped fan brush, with a flat ferrule. | It works well as a light blender, and it is useful in painting grass, feathers, hair, fur, etc. |  |
Quill Brush | Long hairs, with an elongated point, set in a quill or hand-tied with brass wires onto a natural wood handle. | Use it for large watercolor washes or calligraphy art projects. | 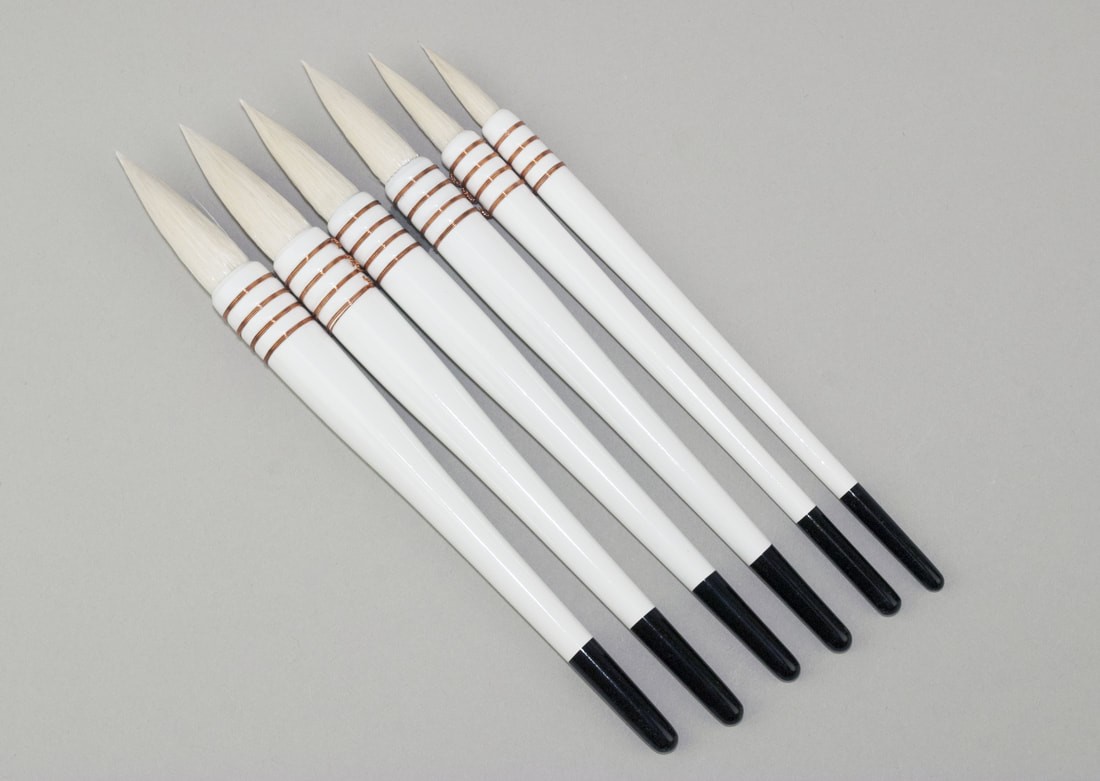 |
Liner Brush | Long thin pointed tuft set in a round ferrule. | It is useful for decorative painting, delicate lettering, outlining, and long continuous strokes. | 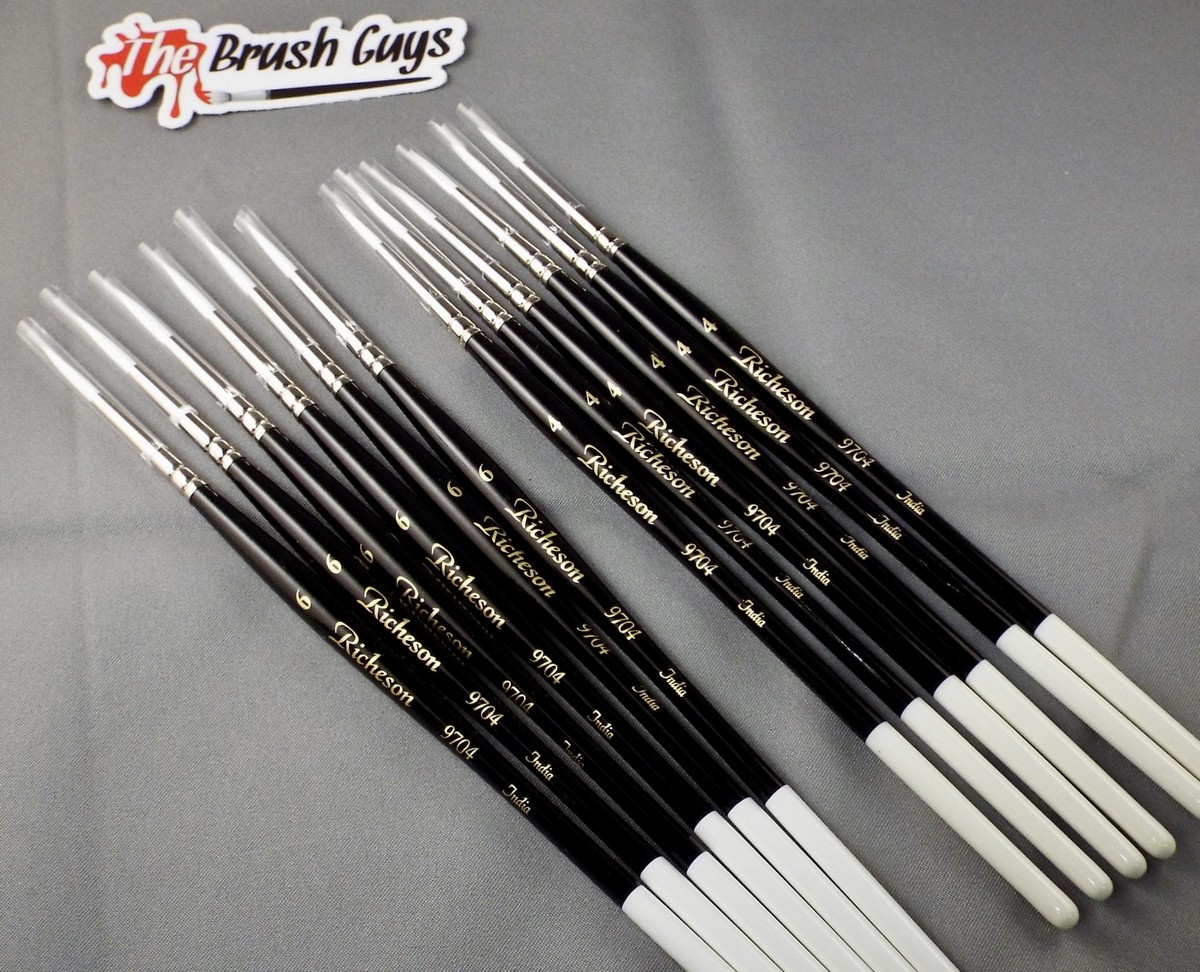 |
Rigger or Script Brush | Round ferrule with much longer tufts than liners. | Use it in fine art and decorative painting, as it works perfectly for long straight lines. | 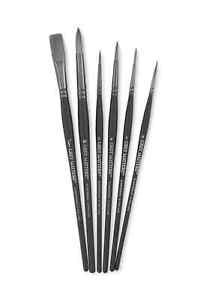 |
Highliner Brush | Square-ended tuft, with extra long fibers in a round ferrule. | It works well for fine art painting, miniature painting, outlining, and delicate lettering. | 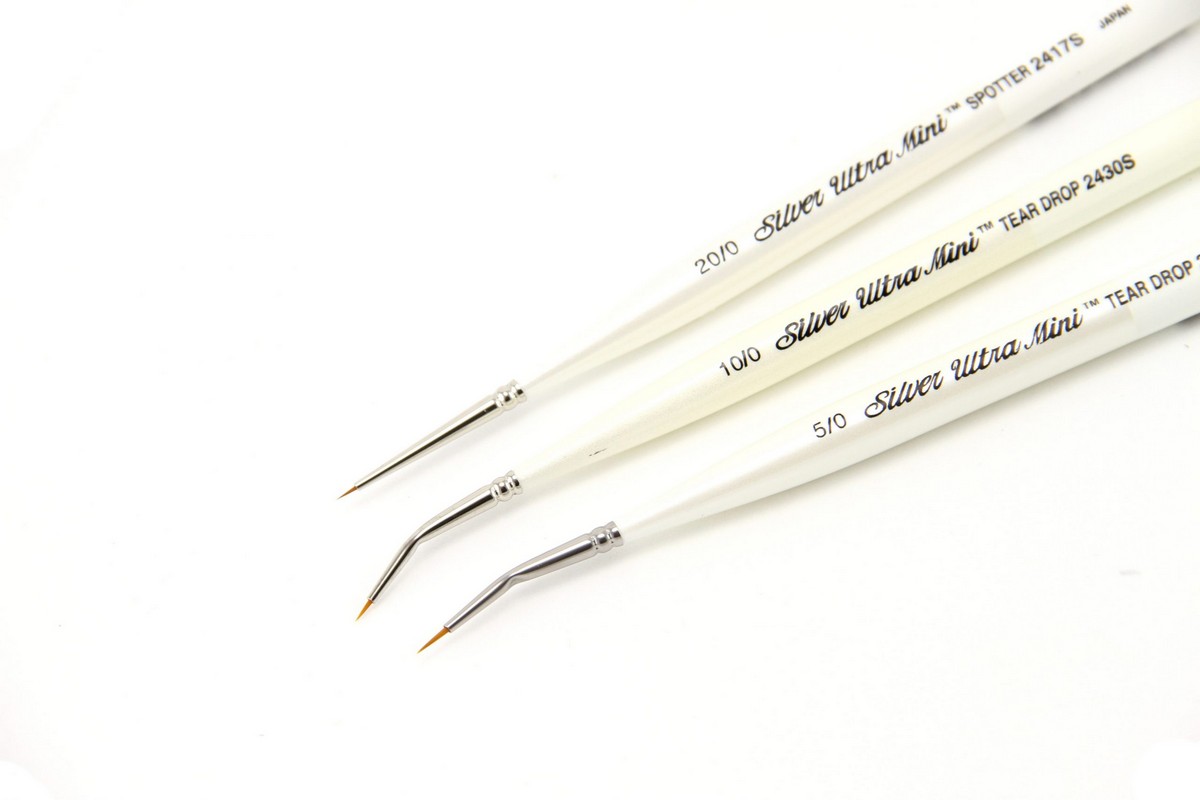 |
One Stroke Brush | Medium to long fibers, square-ended, and set in a flat ferrule. | It is ideally for painting block letters, but also florals and greens in a single stroke. | 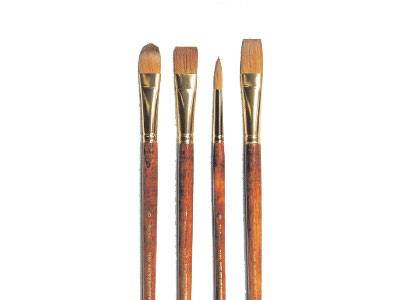 |
Wave Brush | The top of the tuft is shaped into a tight wave formation, set in a flat ferrule. | Use it in decorative painting, as it is excellent to draw feathers, leaves, and hair. | 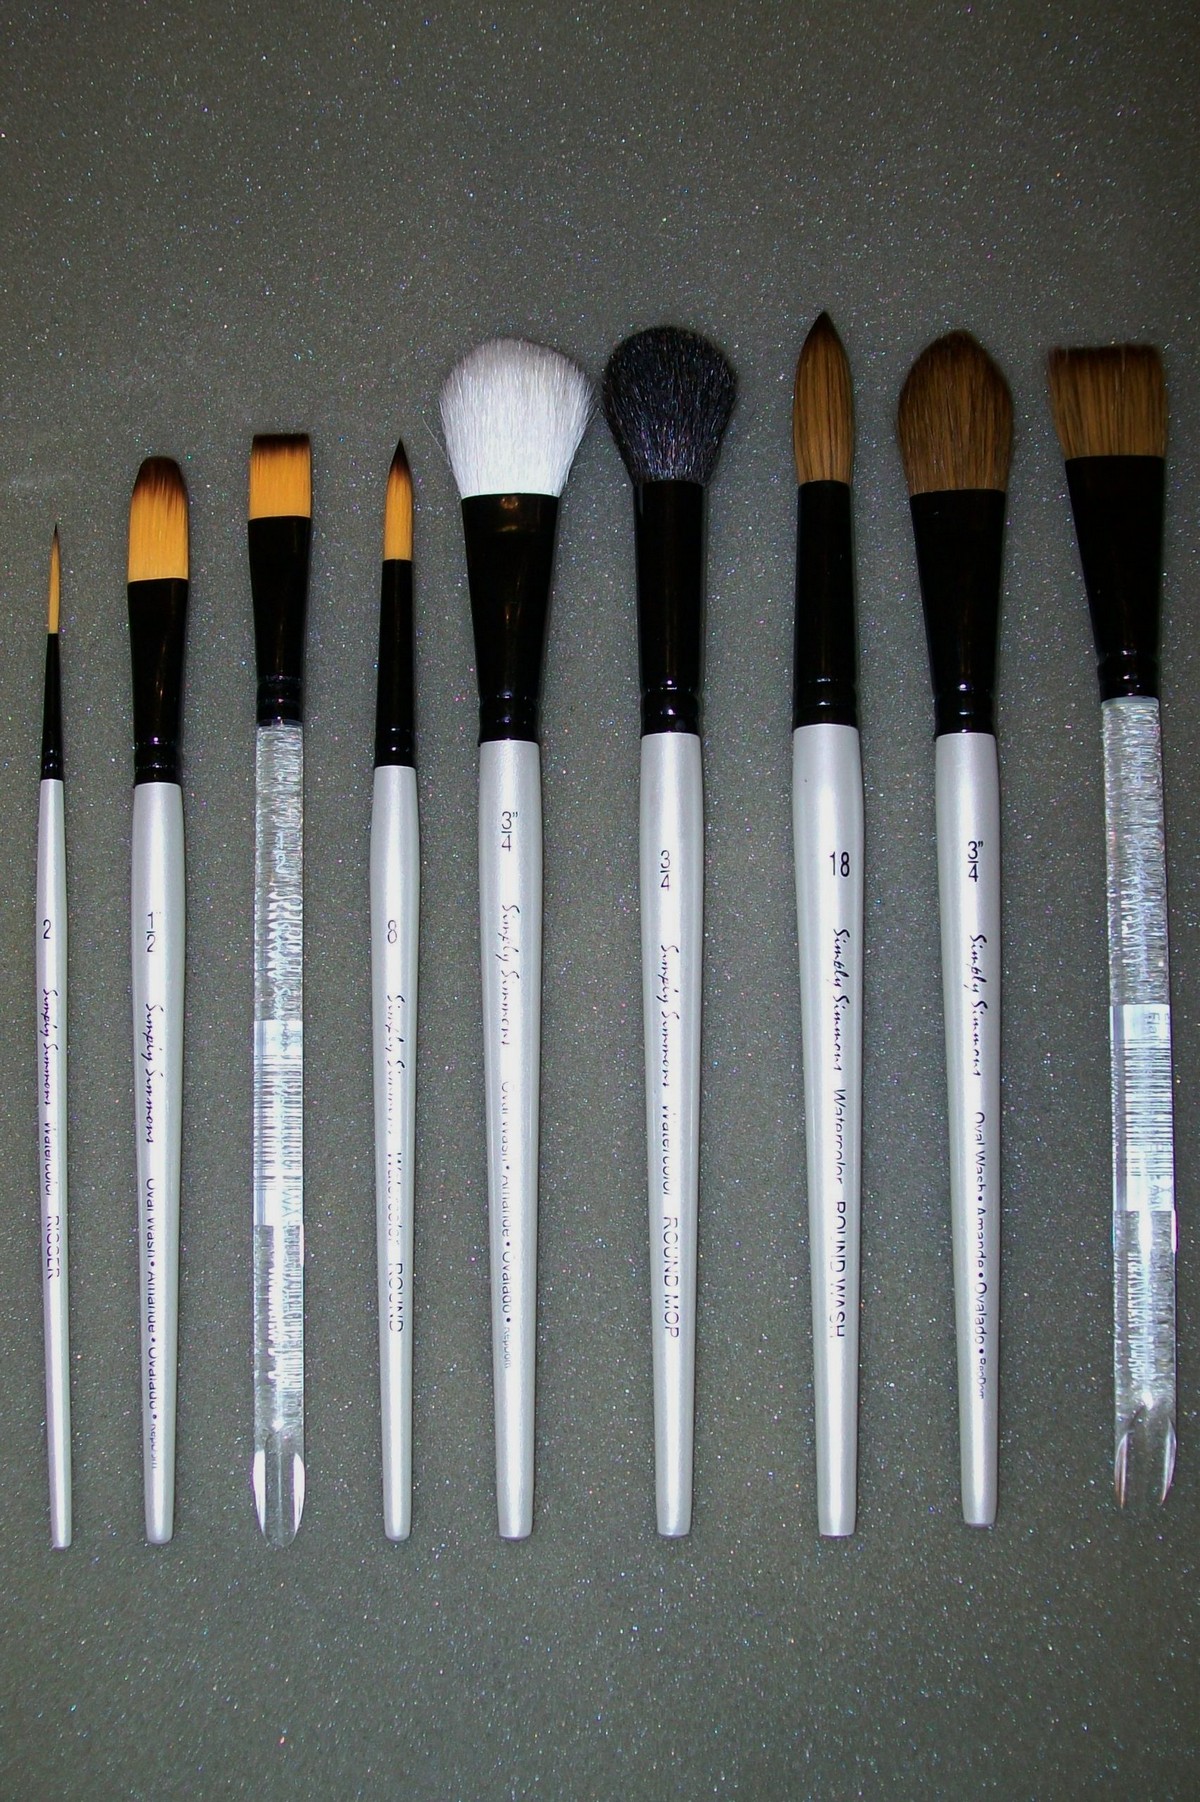 |
Butterfly Brush | Two sizes pieces of hairs, short next to long, in one ferrule. | It is excellent for decorative painting, especially in making leaves or flowers. |  |
Whale’s Tail Brush | Short tuft cut into a V-shape set in flat ferrule. | Use it in decorative painting for shaping leaves, flowers, trees, and borders. | |
Fountain Brush | Short hairs set in a round ferrule, ending in an open circle. | It is useful for stippling, but also for creating individual hairs or blades. | 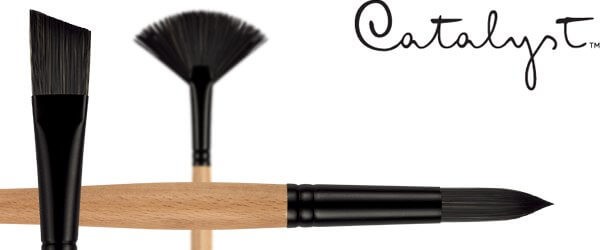 |
Mop Brush | Large, round wash tuft in a round ferrule. | It is perfect to cover large areas in watercolor, or to wet the surface and to absorb excess water or watercolor. | 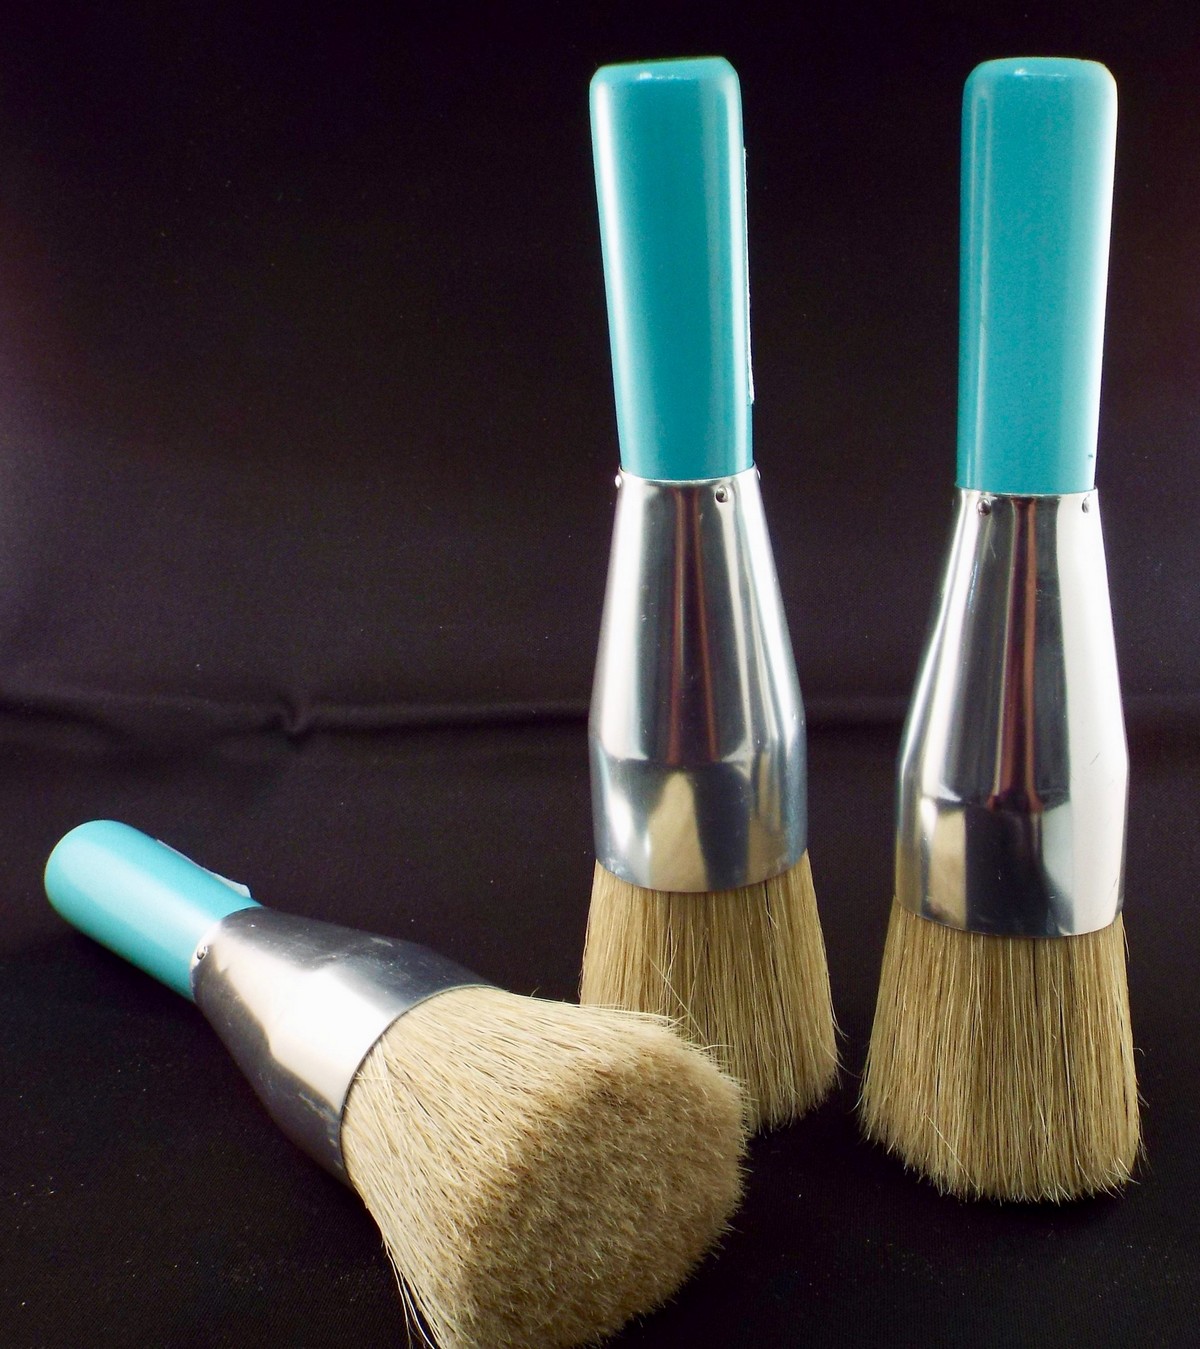 |
Mottler and Spalter Brush | Large, flat brush with long or short bristles. | It can easily cover large areas, and it is recommended for faux finishing techniques, murals, and washes. |  |
Sash Brush | Tapered bristles in a long handle. | It works well for detailed work on large paintings, but also decorative painting. | 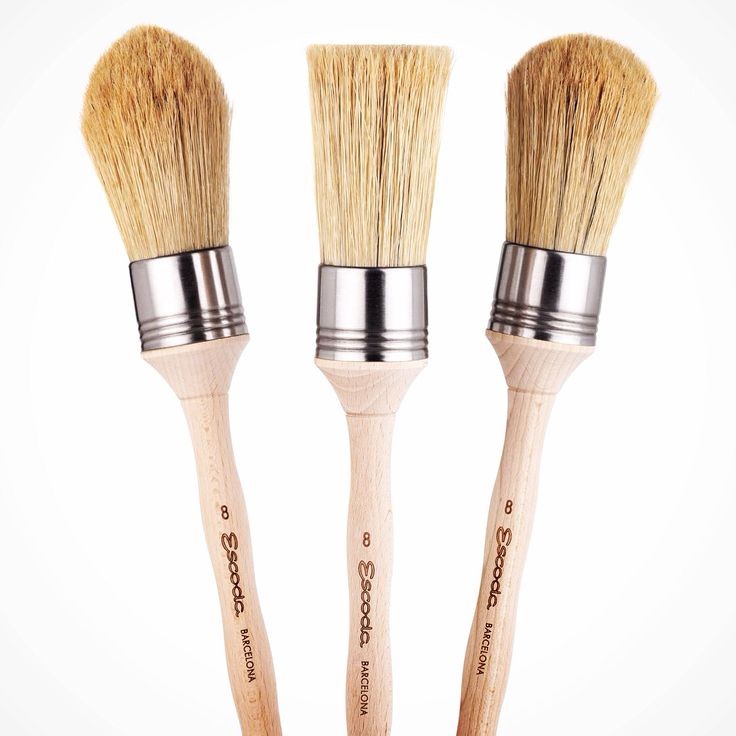 |
Brush Sizes
Depending on what you want to create, you will need brushes of different sizes. When shopping for brushes, always consider the size of the brush to ensure you have the right array of sizes for your projects.
Thicker Brushes
- Hold more color
- Help you paint large areas
Thinner Brushes
- Better control
- Perfect for details
Short-Handled Brushes
- Great for watercolor painting
- Great for ink painting
Long-Handled Brushes
- Great for oil painting
- Great for acrylic painting
Thicker Brushes
- Hold more color
- Help you paint large areas
Short-Handled Brushes
- Great for watercolor painting
- Great for ink painting
Thinner Brushes
- Better control
- Perfect for details
Long-Handled Brushes
- Great for oil painting
- Great for acrylic painting
Smaller than Size 0
- These brushes are less common and denoted by a slash.
- The larger the number before the slash, the smaller the brush.
- Examples include 4/0, 6/0, or even 20/0.
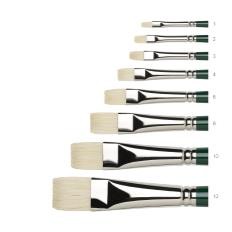
Size 0 - 20
- The length of the tuft increases as the numbers get higher.
- The size of the ferrule increases as the numbers get higher.
Larger than Size 20
- These brushes are less common and tend to be more expensive.
- Sizes can range up to size 30!
Brush Fibers
Different brush fibers are used with watercolor, oil, or acrylic paints. They help you to obtain different painting effects or textures, but they also vary in terms of durability and cleaning ease.
| Fibers | Description | Use | Image |
|---|---|---|---|
Synthetic Brushes | Are usually made of either nylon or polyester filaments. | They can be used in any type of paint, being processed to withstand the caustic nature of paints and solvents. They are more durable and easier to clean than traditional brushes. |  |
Badger Hair | Gives brushes a distinctive “bushy” appearance, being thickest at the point, and relatively thin at the root. | Badger brushes are traditionally used to blend oil paint on canvas. | 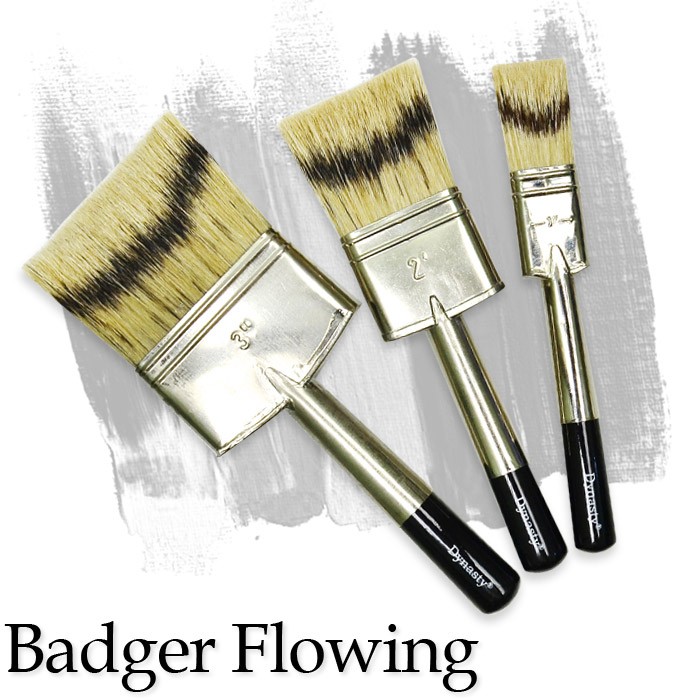 |
Hog Bristle | Obtained from hogs has this natural tendency for curves and it forms a V-shaped split or “flag” at the tip. | Pure hog bristle brushes are recommended for oil and acrylic painting. | |
Kolinsky Sable | Comes from the tail of a species of mink, not from sable. | It is considered as the finest fiber for professional watercolor or oil brushes, because of its strength, spring, and ability to retain its shape. | |
Red Sable | Is not from sable either, but it is obtained from any member of the weasel family with red hair. | It works for a variety of paints, and it is a good and less expensive alternative for the Kolinsky Sable. |  |
Sabeline | Is light-colored ox hair, dyed to resemble red sable. | It is primarily used for lettering and watercolor brushes. |  |
Ox Hair | Usually collected from the ears of cattle or oxen, has a very strong body and a silken texture. | It is perfect for medium-grade wash brushes or flat-shaped brushes. | 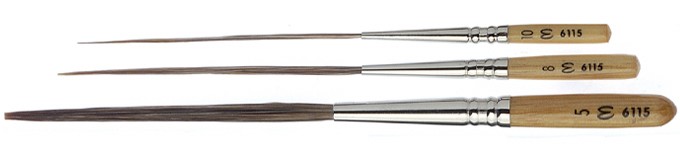 |
Pony Hair | Is soft and it comes from mature animals. | Usually, it is blended with other hairs for inexpensive watercolor brushes or it is used for scholastic brushes. | |
Gray Squirrel - Talayoutky | The hair comes from Russia and it is short in supply. | It is in high demand for lettering and quill brushes. | 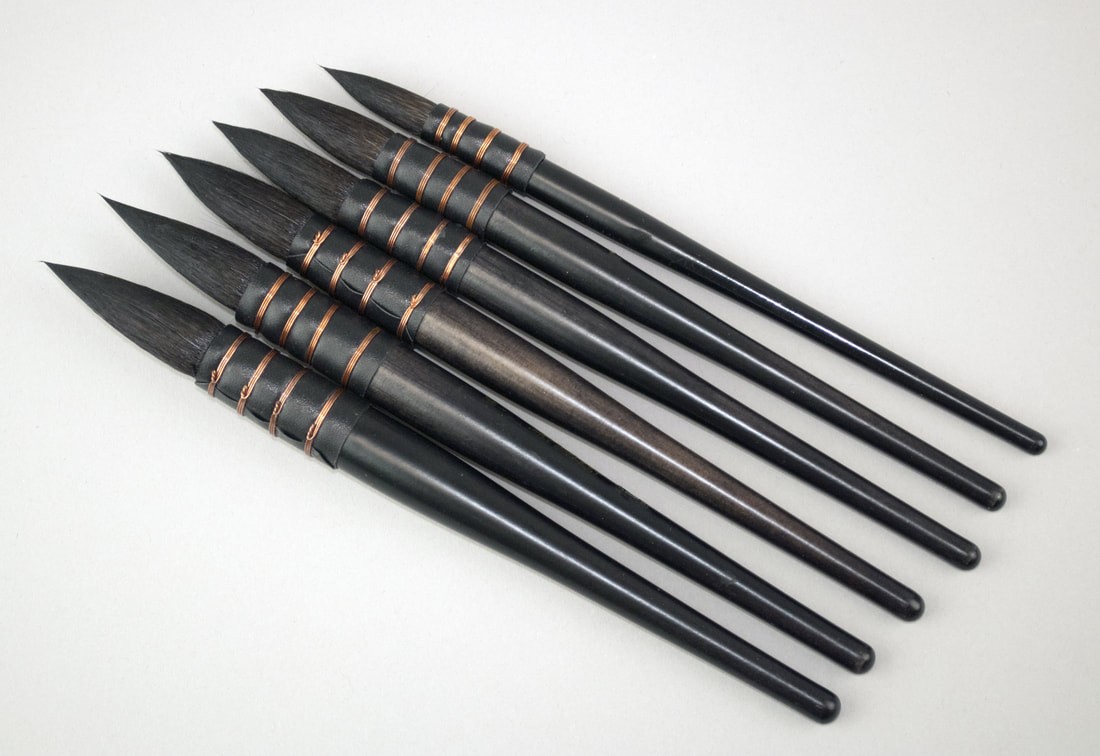 |
Brown Squirrel - Kazan | The hair can be found much easier. | It is thin and points very well, being used mostly in scholastic watercolor brushes |  |
Brush Cleaning Guide & Tips
Proper brush care will extend the life of your artist’s brushes. High-quality brushes last for years because of the exceptional materials used to produce the brush’s fibers, ferrule, and handle. However, you will be able to enjoy your favorite brushes for years only if you take good care of them.
Brush Storage & Other Brush Care Tips
Besides cleaning techniques, there are other methods that help increase the longevity of your brushes. Where and how you store your brushes makes a difference in the quality and strength of your brushes. Using different brushes for specified roles will yield some great results as well.
Brush Storage Tips
Do’s
- Keep handles and ferrules dry to prevent cracking or loosening of the ferrule.
- Make sure your brushes are completely dry before storing.
- Always store brushes upright in a well-ventilated room, but not under direct sunlight. The brush hairs need to breathe, get enough air so that they do not let mold grow.
- Store soft natural brushes with a moth deterrent, such as a moth ball.
- If you use a brush case, this should be breathable and allow air to flow over the brush heads. Canvas and wood are two of the best storage casings. (Need a brush case? We’ve got plenty to choose from for any size collection.)
Don’ts
- Never store brushes when they are wet.
- Never store brushes on their tips. This will permanently alter the shape of the hairs or bristles, but also will cause the wooden handle to swell, crack and loosen the ferrule. Lay brushes flat or upside down.
- Never store brushes in an airtight container, or any container where moisture can’t escape. Plastic is a poor brush storage choice. Fabric storage containers provide protection and breathability.
- Never store brushes in direct sunlight. Too much sunlight can cause the bristles to weaken or fade, and thus destroy the brush fibers.
Other Brush Care Tips
Do’s
- Assign different brushes for different colors. Use one or more brushes for white colors, other brushes for yellows, others for reds, and still others for blues, etc. This will keep any pigments you may not have cleaned off from contaminating the purity of your color.
- While painting, lay your brushes horizontally on a paper towel to keep them moist, clean, and avoid damaging the brush.
Don’ts
- Never let your brushes rest in water, solvent, or thinner while painting.
- Avoid dipping a dry natural-hair brush directly into oil paint. First, dip the brush into the painting medium, to protect the hairs, but also to distribute the natural oil of the brush hairs and allow each hair to load properly with color.